Fields sometimes need to be edited — to update a field or its values, or to correct a mistake. This article shows administrators how to edit a field: modify existing field information, add or remove values, and update general details such as the title or ILAP ID. This is useful when field definitions change over time, or new data is needed in your report schedules. For more information about fields, read this article: Fields
How to Edit Fields
Open the Desired Field
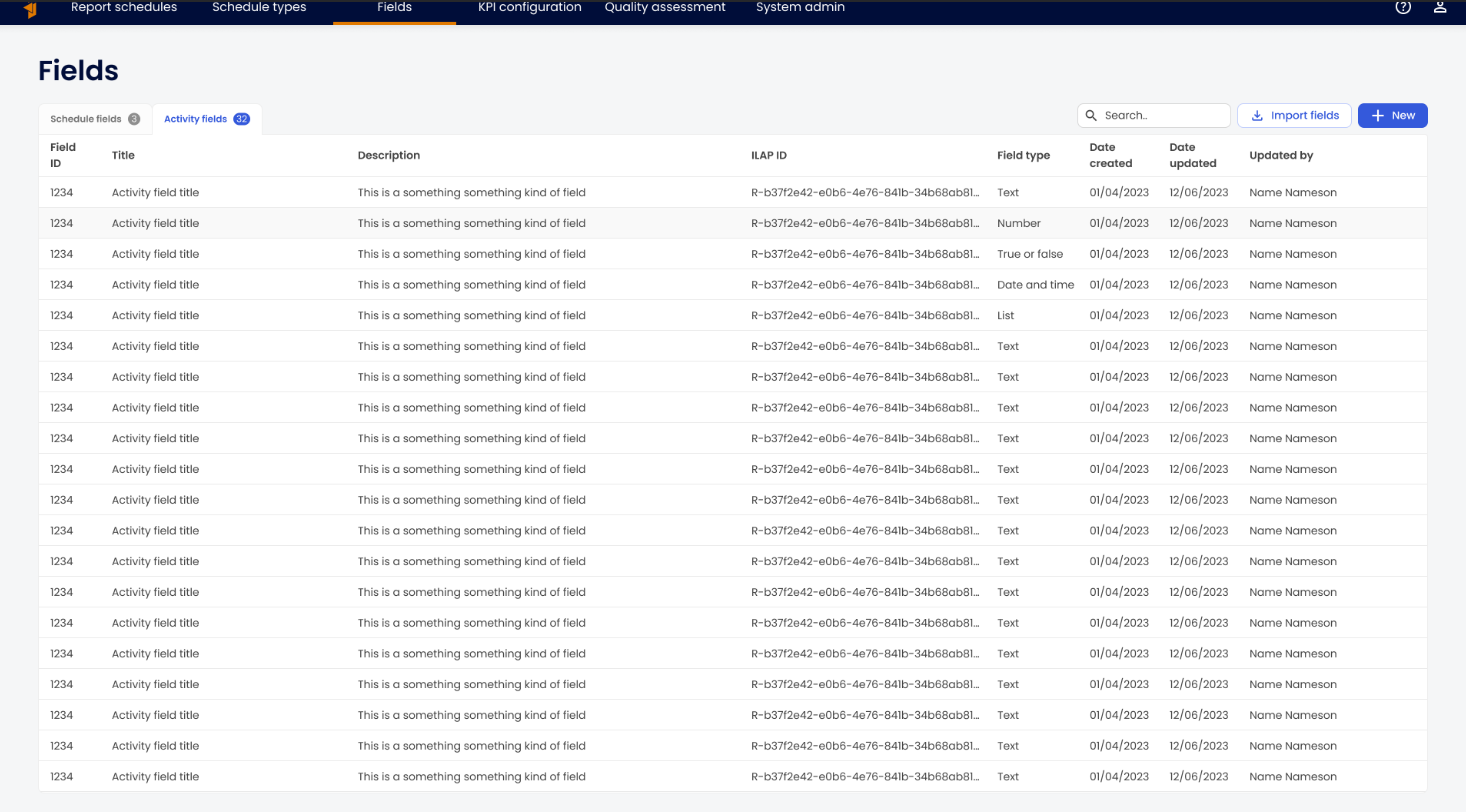
On the Fields page, choose between the Schedule Fields or Activity Fields tab. Scroll to find the field you want to edit, and click to open it. Use the sorting feature in the table columns to help locate the field. Click the column title to sort by that column.
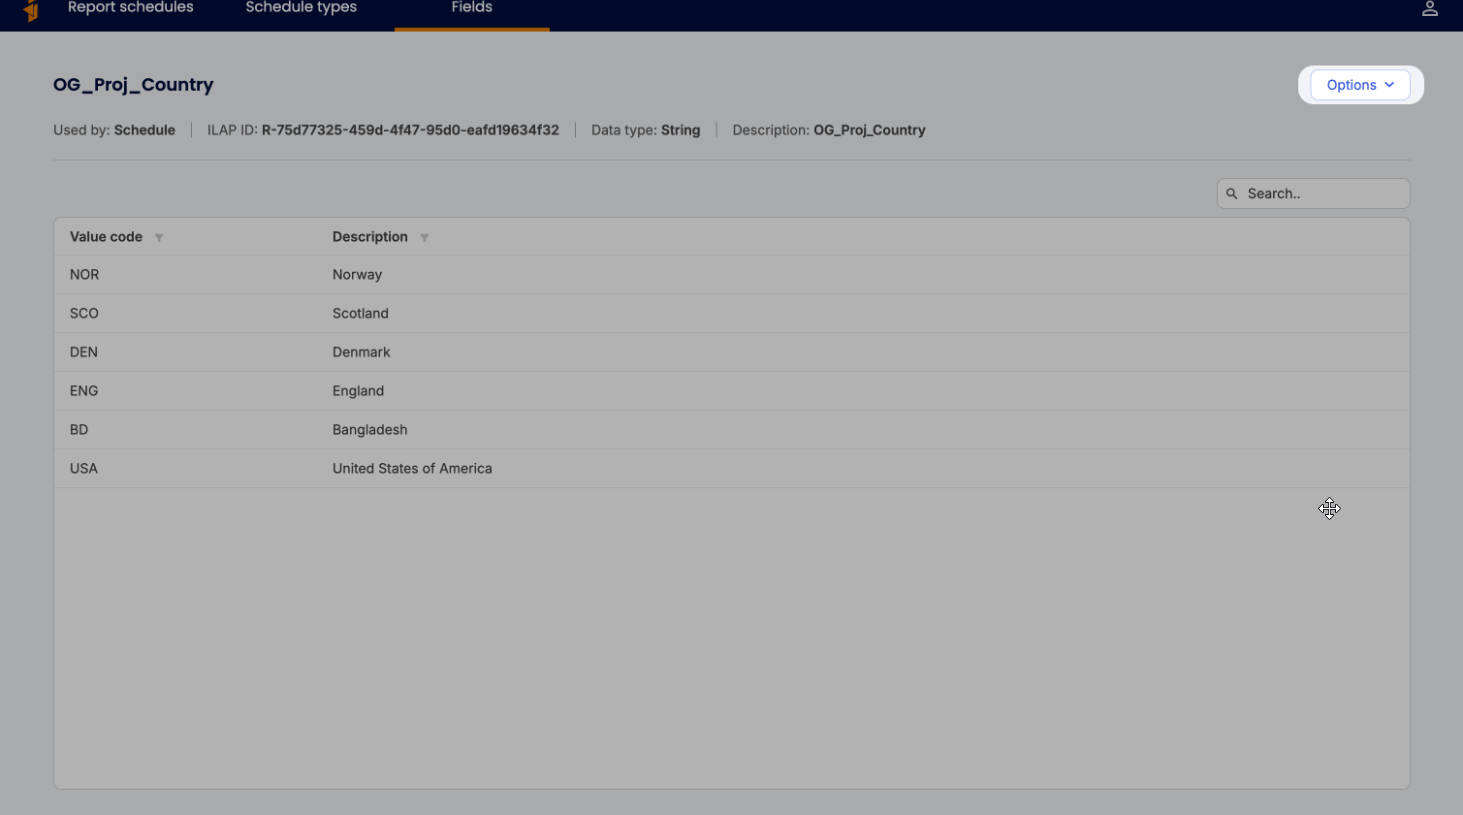
\Click "Options"
In the top right corner, click the Options button to open the dropdown menu.
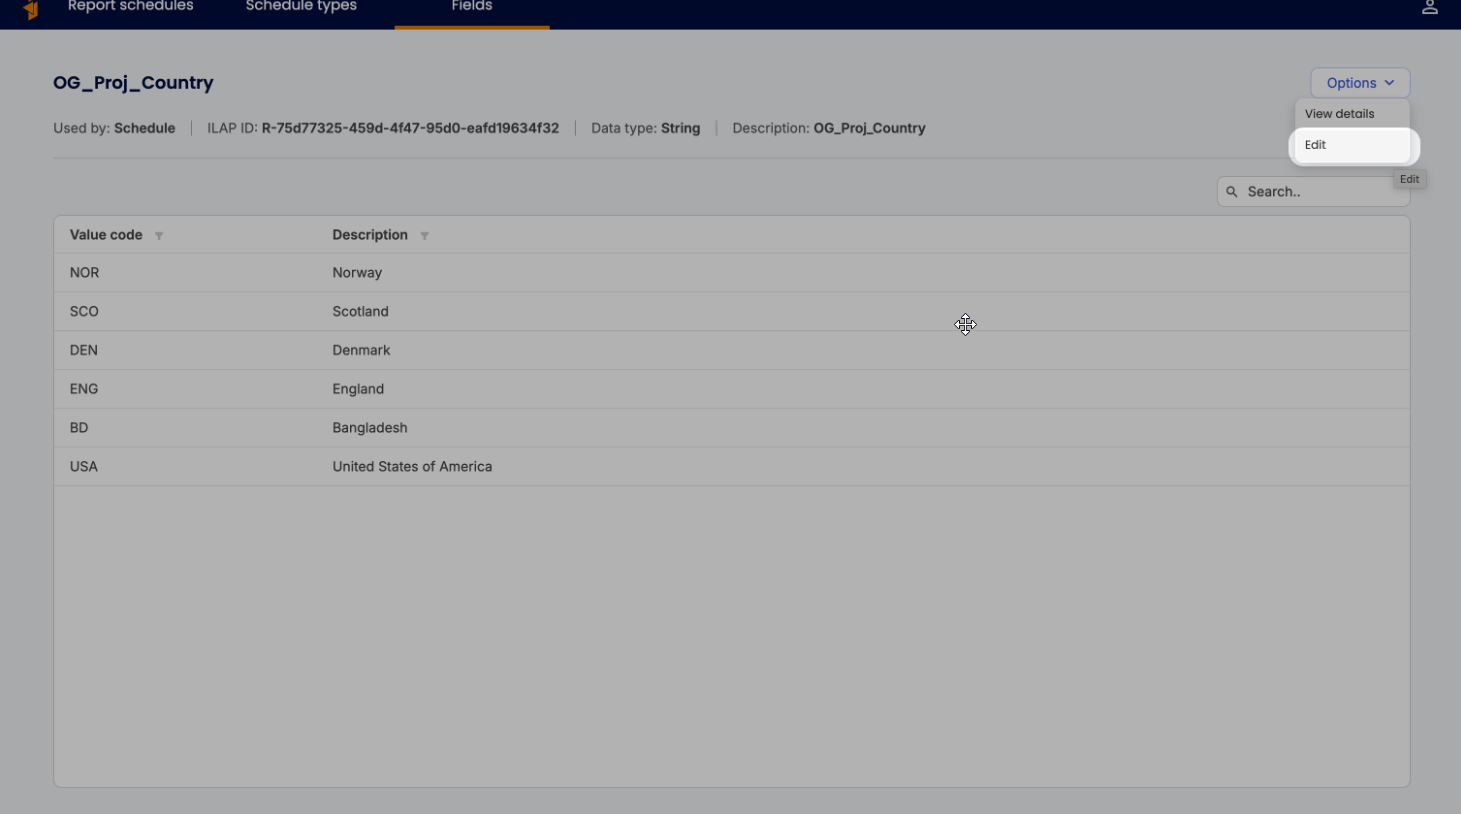
\Click "Edit"
Select Edit from the dropdown to enter edit mode.
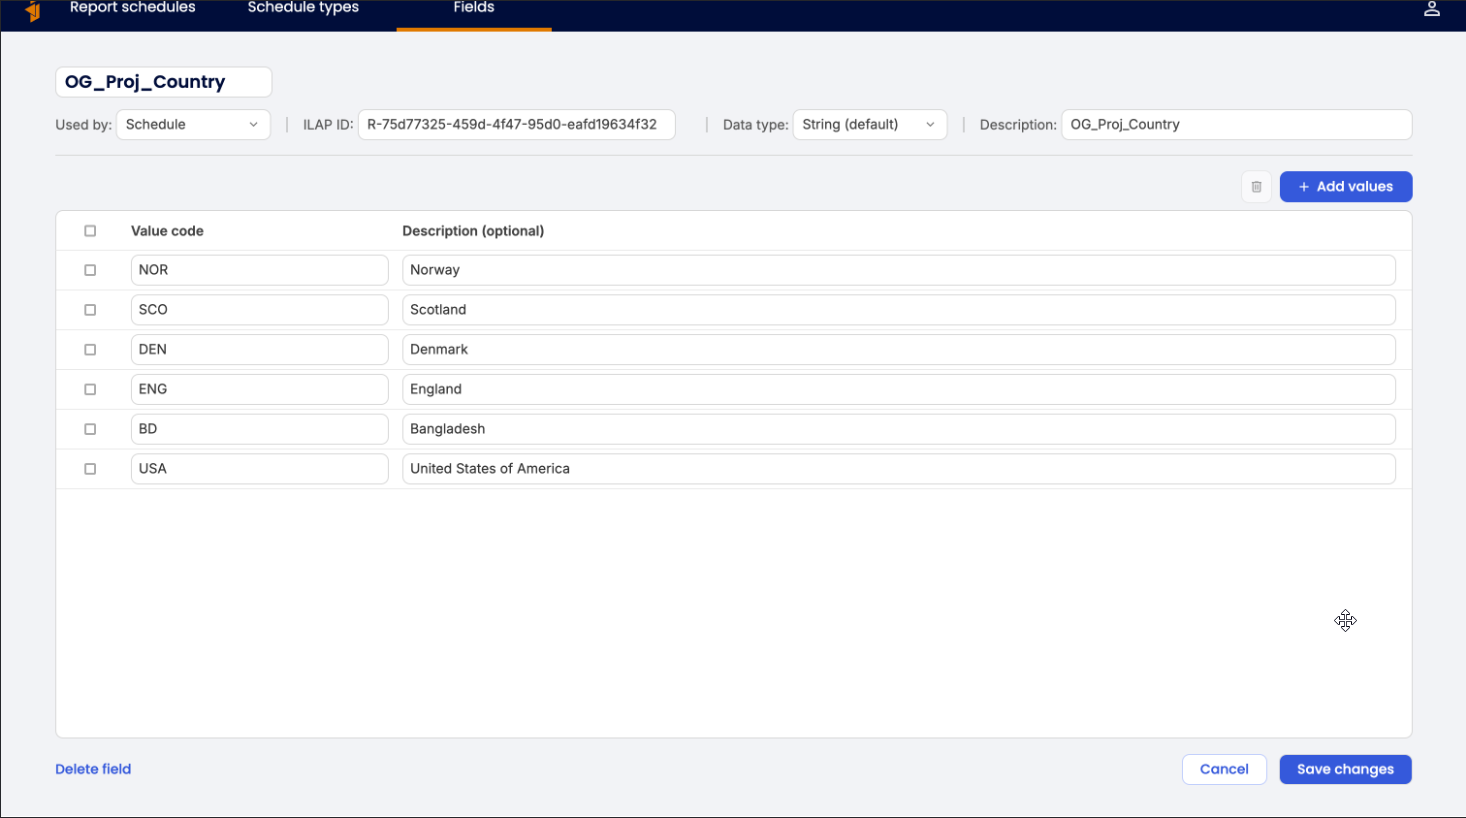
\Edit General Information and Added Values
In edit mode, you can update all general information about the field, including the title, Used by, ILAP ID, field type, and optional description. Note: If required fields are left empty, or the ILAP ID is invalid, you will not be able to save.
- For fields of type List, you can also edit the Value code and **description **for each added value.
- To delete an added value, check the box next to it and click the **Delete **icon in the top right corner of the table.
\
Add New Values\
Click the Add values button above the top right of the table. In the modal that opens, click the **Add **icon (+) to add values. When done, click Submit or **Cancel **to return to edit mode without the changes made in the modal.
 \
\Note: To finalize changes, you must still click Save changes in edit mode.\
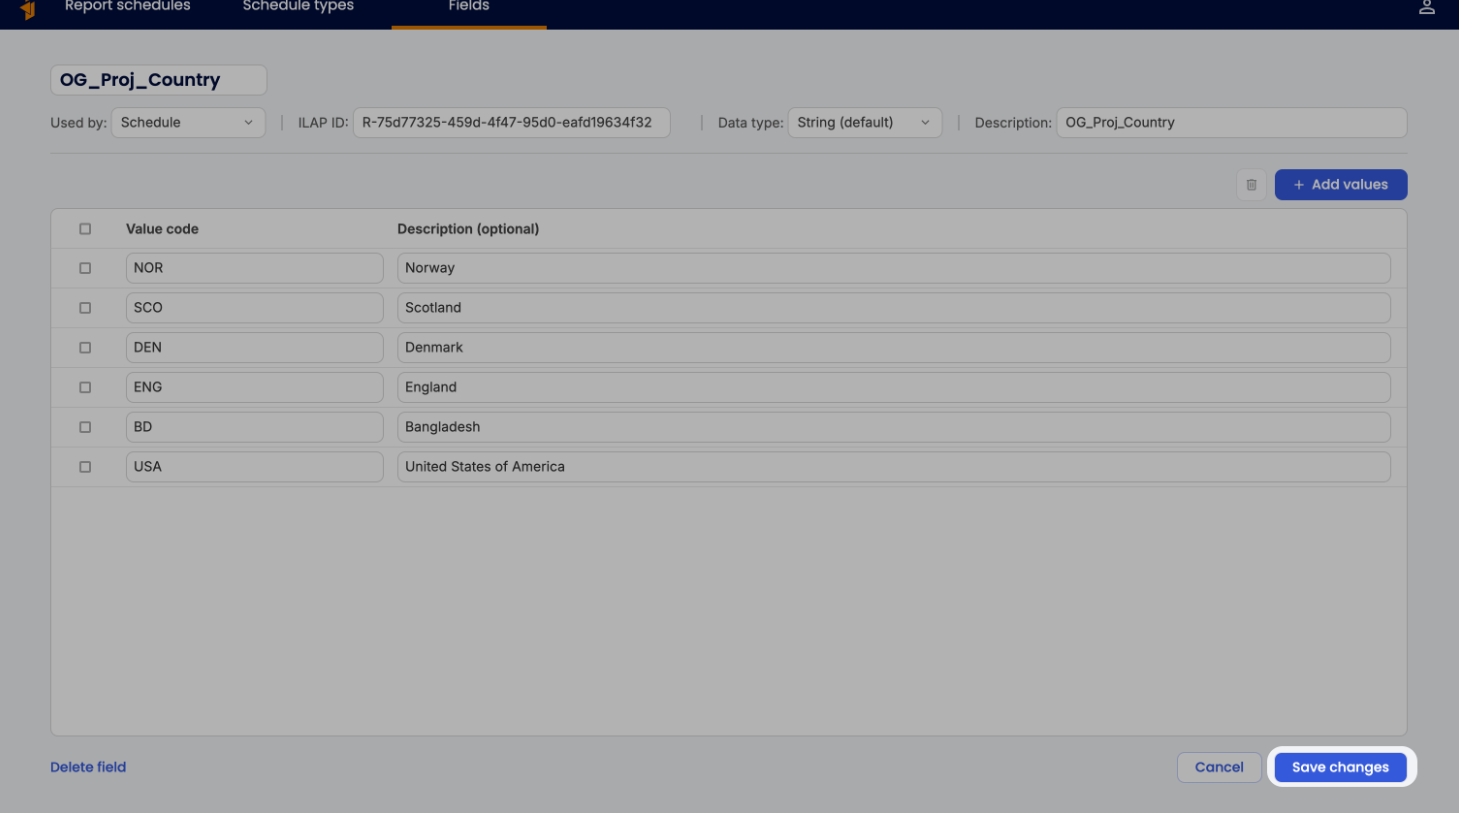
Save Changes
To make your edits permanent, including changes to general information or added/removed values, click **Save changes **in the bottom right corner.
\Note: When the Save changes button is pressed, all changes will be made permanent.\
Was this article helpful?
That’s Great!
Thank you for your feedback
Sorry! We couldn't be helpful
Thank you for your feedback
Feedback sent
We appreciate your effort and will try to fix the article